The right saddle does not have to be expensive or soft. What matters is the width matched to your sit bones, the shape matched to your position on the bike and, above all, trying it on your own bike.
- Measure the distance between your sit bones. Adding roughly 20 mm is only a rough guide; trying the saddle decides most.
- The more you lean forward, the narrower and firmer the saddle.
- A cut-out or channel in the middle relieves pressure on soft tissue.
- Always try a saddle on your own bike during normal riding.
- Before you replace the saddle, check its height and position. The problem is often the position, not the saddle.
1. Measure your sit bones
Sit in cycling shorts on a piece of corrugated cardboard or foam so that your bones leave an imprint. Mark the centre of both imprints and measure the distance between the centres. Do it two or three times and compare the results.
The measurement is static and taken with the torso upright. When you lean forward on the bike, pressure shifts toward the pubic bones, so this is only a starting point.
2. Determine the saddle width
Most often about 20 mm is added to the measured value (130 mm → a 150 mm saddle). But every manufacturer measures width a little differently and has its own chart, so look at it. One rough division: under 100 mm narrower saddles, 100–120 mm medium and over 120 mm wider. The limits differ by manufacturer and fitter (some already consider values under 110 mm narrow and only those over 135 mm wide), so treat them only as a rough guide to rule out unsuitable widths, not as an exact figure.
| Position | Width | Shape and firmness |
|---|---|---|
| Performance, a lot of forward lean | narrower, closer to the lower end of the margin | firmer, narrower nose, cut-out or channel |
| Recreational, moderate forward lean | around +20 mm | medium firmness, slightly curved |
| Upright, leisure rides | wider | a little softer, wider rear |
The values in the table are practical rules of thumb from fitting practice, not the result of a single study.
3. Choose the shape
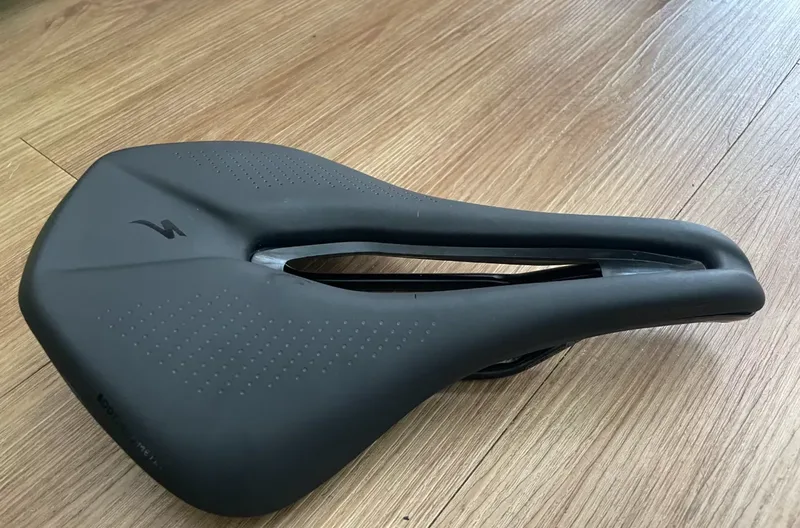
- Cut-out or channel: relieves pressure on the perineum and matters more the more you lean forward.
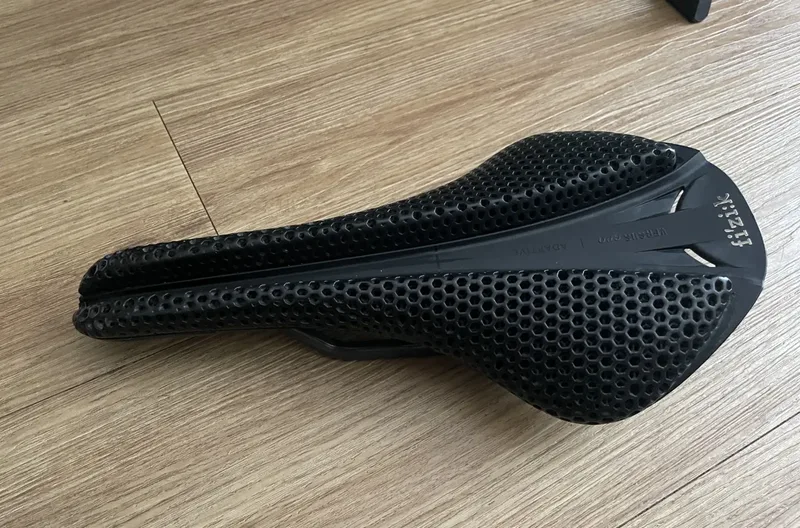
- Padding: helps on short rides, but on long ones it can increase pressure on soft tissue. Look for support for the bones, not the softest possible saddle.
- Side profile: a flat saddle lets the pelvis change position forward and back more easily. A curved saddle with a raised rear part tends to hold the pelvis in place and support it at the back. Most people get on better with one of the two, and the difference shows mainly on longer rides, so it is worth trying both. Curved saddles are usually set slightly nose down, see saddle tilt.
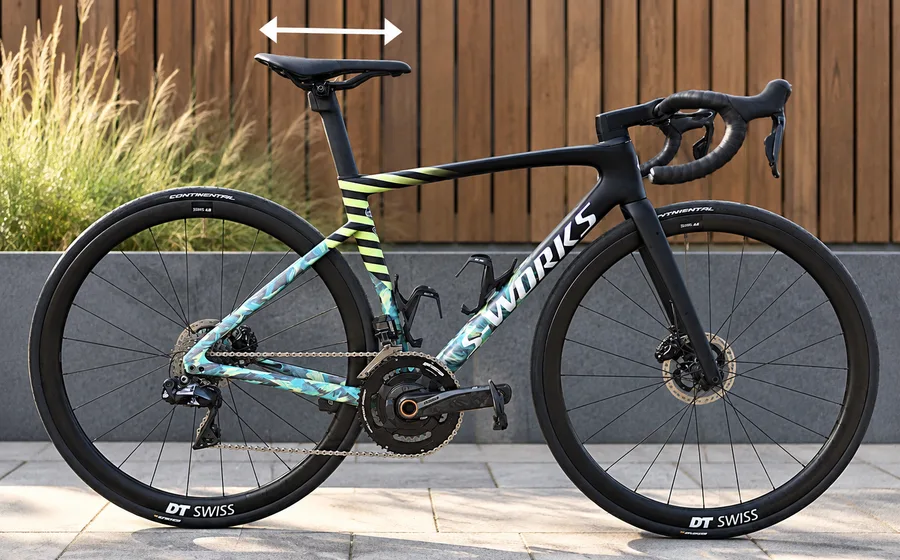
- Saddle length: saddles also differ in length. A shorter saddle has a shortened nose, which can suit a more pronounced forward lean and easier pelvic rotation, while a longer classic saddle offers more room to slide along the rails and change position. Length and nose shape change where you sit on the saddle, so after changing saddles check the height and position again.
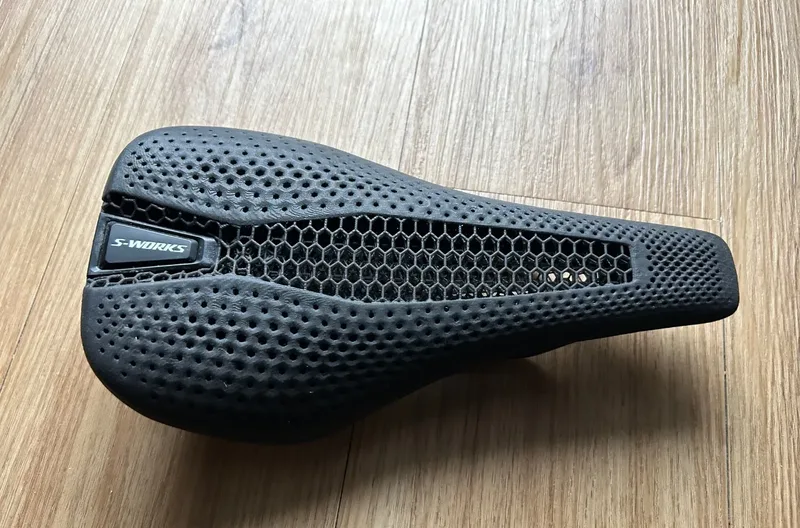
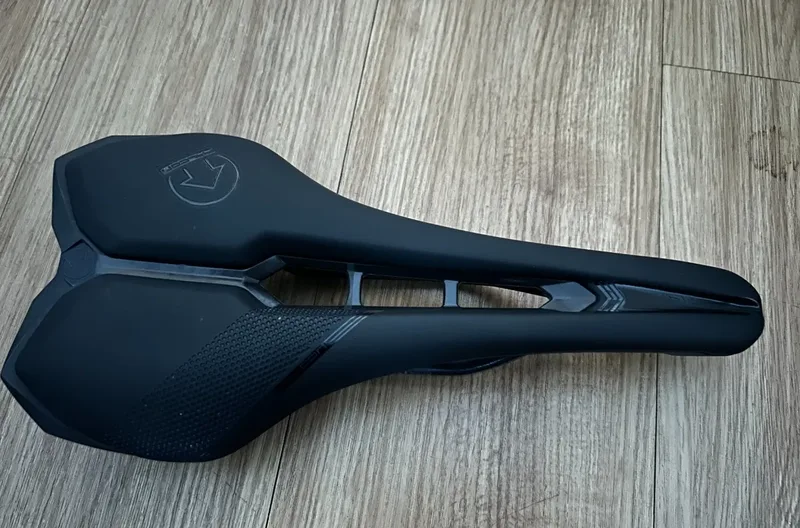
Where the saddle presses and what to try
| Where it presses or rubs | What to try |
|---|---|
| Chafing on the inner thighs | a narrower nose and more pronounced narrowing of the wings (the saddle “gets out of the way” of the thighs), or a saddle with a cut-out centre |
| Pressure on the perineum and soft tissue | a saddle with a cut-out or channel, preferably a wider and softer nose that spreads the pressure |
| Hard pressure under the sit bones | a wider saddle or middle section, or a different shape or profile, not necessarily a softer saddle |
| The saddle does not “fit” your pelvis | try a more rounded and a flatter profile from the side; most people get on well with one of them |
This approach is based on fitters' experience (Neill Stanbury), not on a study.
4. Tilt and position
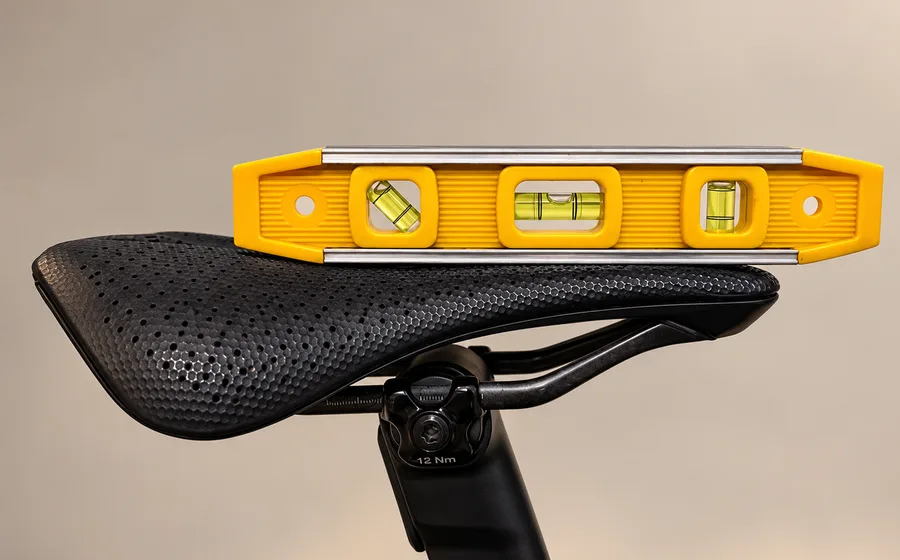
Before you replace the saddle, verify its height and position: even a saddle 10 mm too high spoils any saddle, and often moving the saddle, the cleats or adding arch support in the shoe is enough. Start with a level saddle (spirit level). Tilt the nose down only a few degrees when the handlebars are clearly lower than the saddle. Do not use the saddle to adjust your reach to the handlebars. If your hips rock while pedalling, the saddle is usually too high. After changing the saddle always check its height again, because every saddle sits differently. Rather a little lower than higher. You can find saddle height and position in the cards Saddle height and Fore-aft position.
Persistent numbness, tingling or urination problems are not a reason to try more saddles. See a doctor. Never push through pain.
5. Try it out
The most reliable way is to try the saddle on your own bike, in the same shorts, shoes and position as in normal riding. One ride is often not enough: try 2–3 similar rides before you decide. A shop's saddle-loan scheme, a return option or trying several saddles at a fitter's can help. If no ordinary saddle fits, there are also custom saddles (offered by some manufacturers and fitters) that are made to the shape of your body.
Shorts and pad
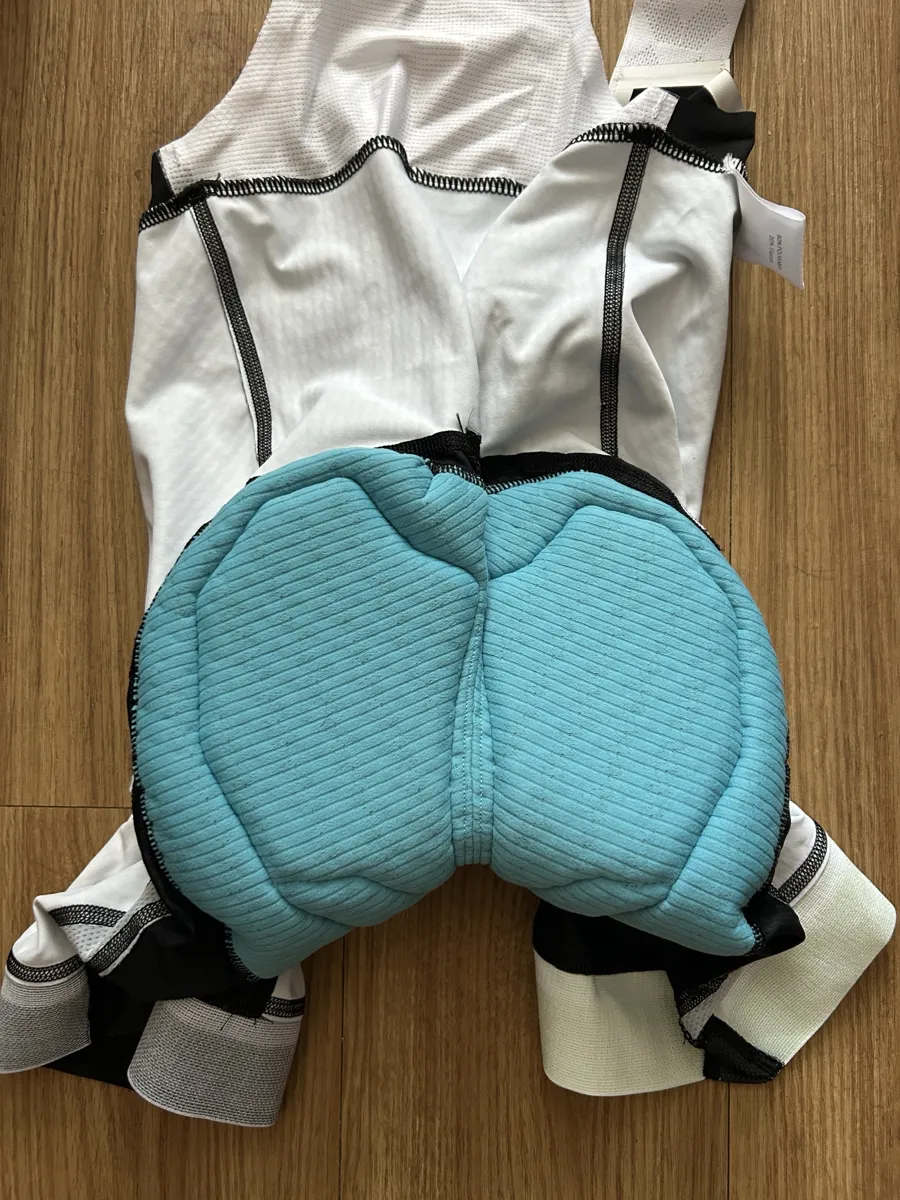
Comfort does not depend only on the saddle. Well-fitting cycling shorts with a quality pad spread the pressure and limit friction. They should fit snugly and without creases, and the pad should sit under the sit bones. Cycling shorts are worn without underwear, because seams cause sores. A worn pad loses its cushioning, so replace it after a while. Before you start changing the saddle or setup, also try different shorts.
The ComfiVelo app is being finished.Notify me
Sources: Bikefit.com, Competitive Cyclist, Cycling UK, Neill Stanbury (Road Cycling Academy), video on choosing a saddle (a fitter's experience, not a study). Advice in the literature differs; treat it as indicative.