Saddle height is one of the most important parts of your position. A saddle that is too low loads the front of the knee, one that is too high loads the back and makes your hips rock. You find the right height step by step: by estimate, in small steps and by checking the knee angle.
- Start with an estimate from your leg length and crank length, or with the heel on the pedal at the bottom of the stroke and lower the saddle by about 2 cm.
- Fine-tune in steps of 3 to 5 mm and change only one thing at a time.
- The knee at the bottom of the stroke should be bent by 25 to 35° on a photo, 33 to 43° on a video.
1. What is measured
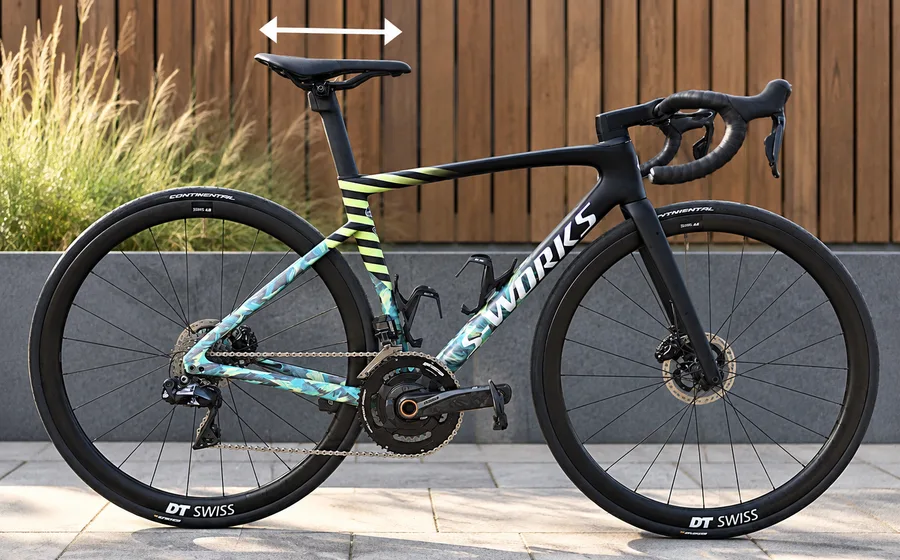
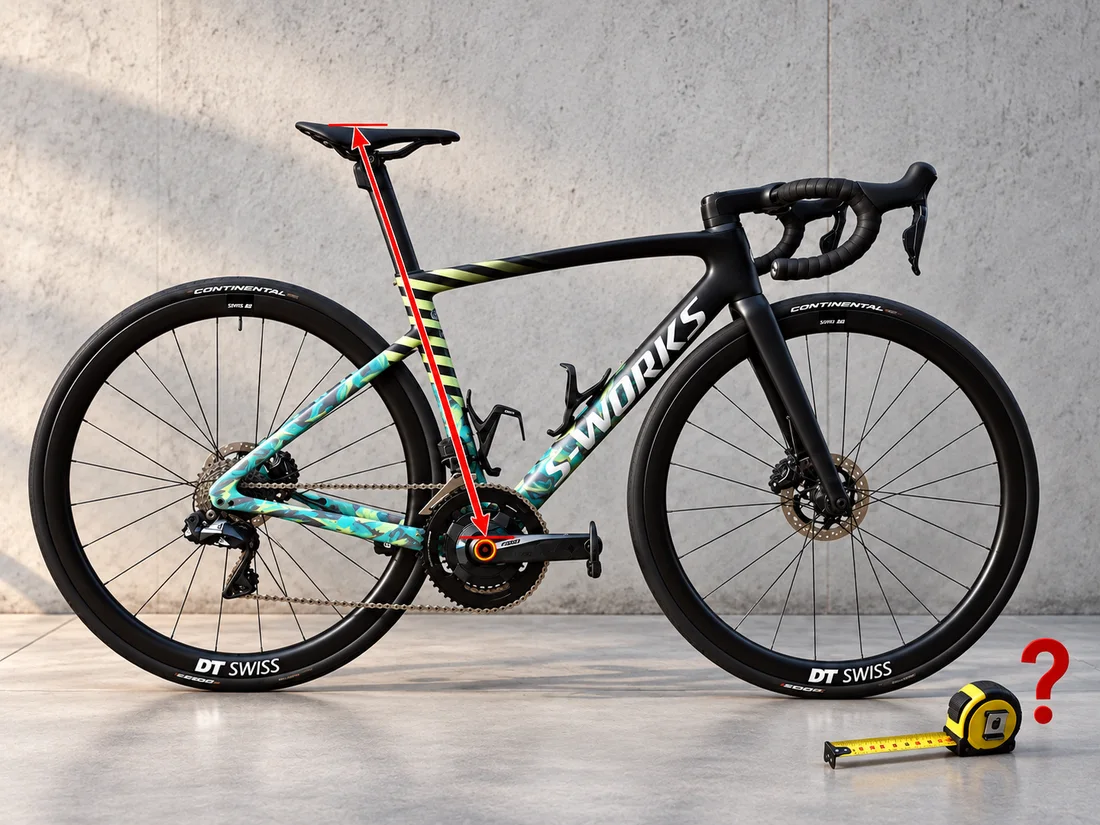
Saddle height is measured from the centre of the bottom bracket along the seat tube to the top of the saddle. That is how charts and calculators give it, and how you can return to it exactly after an adjustment.
2. Starting estimate
Enter your leg length (crotch to floor) and crank length. You get a range of saddle heights and a recommended starting point. A shorter crank means a higher saddle, a longer crank a lower one.
A starting estimate from well-known formulas (LeMond, Hamley and Thomas), adjusted by my experience, deliberately leaning towards a lower saddle. The constants are my experience, not the result of a study. The final height is decided by the knee angle at the bottom of the stroke; pain or feel always win over the numbers.
3. Setup procedure
- Starting estimate on the bike: you sit on the saddle, the heel is on the pedal at the bottom of the stroke, the leg is extended and the hips stay level, not rocking.
- Lower the saddle by about 2 cm. Your foot then rides on the ball of the foot, not the heel, and the leg stays slightly bent.
- Fine-tuning: first lower the saddle by 20 to 30 mm. Then raise it in steps of 3 to 5 mm until pedalling starts to feel “sticky” or your hips begin to rock. Take the last step back by about 2 mm.
- Always change only one thing and take a ride after each adjustment, ideally on the same route or trainer.
4. Checking with the knee angle
When you are comfortable and stable on the bike, take a side photo with the pedal at the bottom. The knee should be bent by 25 to 35° on a photo, 33 to 43° on a video. In the ComfiVelo app the angle is measured from the marked points.
Values out of range do not mean a mistake. Raise (or lower) the saddle by 2 to 3 mm and measure again. The numbers are a guide; what decides is comfort and riding without pain.
5. How you can tell the height is wrong
- Saddle too low: pain at the front of the knee.
- Saddle too high: pain at the back of the knee, rocking hips, toes pointing down while pedalling.
- Feel check: if you feel your heel being pulled upward on the upstroke, the saddle is already too high. Take it back 2 to 3 mm.
With long-term knee pain, do not look for the solution in saddle height alone, and consult an expert.
6. When to check the height again
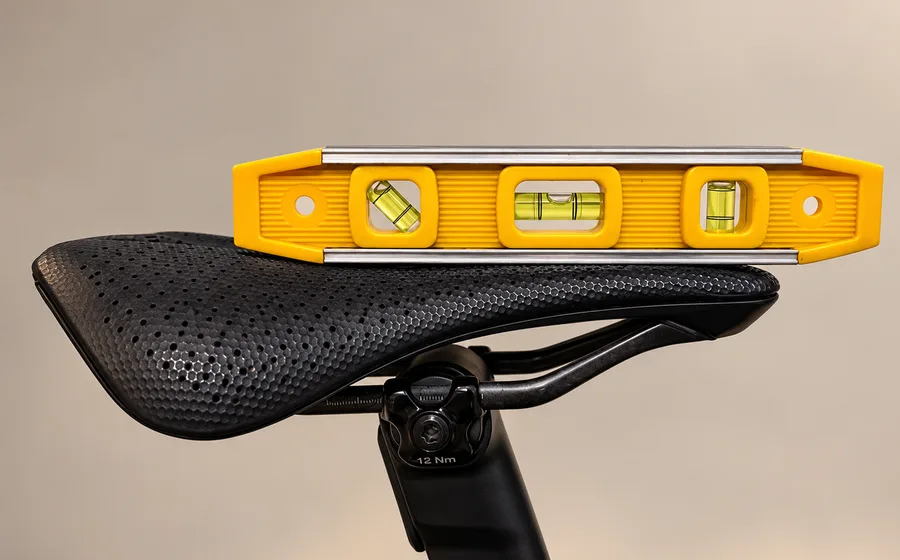
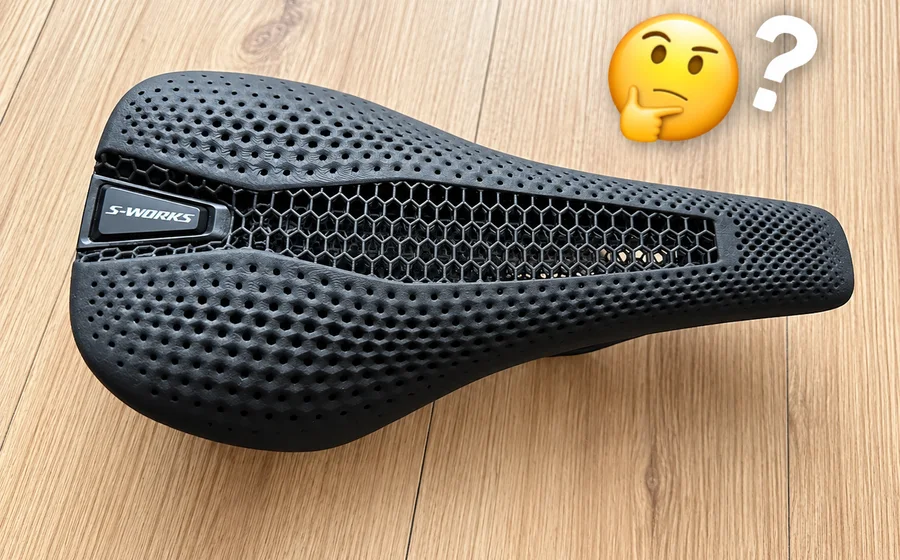
- After changing the saddle. Every saddle is different. Depending on its shape and profile you sit in a different place, and that changes the saddle height, by as much as 1 cm. Rather a little lower than higher (my experience).
- After moving the cleats back. According to fitters the effective saddle height rises by roughly 1 to 1.5 cm. More about cleats in the article Cleats on cycling shoes.
- After changing cranks. Shorter cranks raise the saddle by the difference in lengths. See crank length.
The ComfiVelo app is being finished.Notify me